Index
- Introduction - NFS
- Discovery
- Listing The Shares
- Mounting The Shares
- More Enumeration!
- EndNote
Introduction To NFS
NFS; or Network File System is a distributed File System Protocol, which was developed by Sun Microsystems in the year 1984. It allows a user on a client computer to access files over a computer network much like local storage is accessed.
NFS is designed for sharing files and folders between Linux/Unix systems. It allows you to mount your local file system over a network & remote hosts to interact with them as they are mounted locally on the same system.
NFS serves essentially the same purpose as SMB (Server Message Block).
Now that we have a basic understanding of what NFS is and how it works, we can proceed to enumerate it.
Discovering NFS Shares
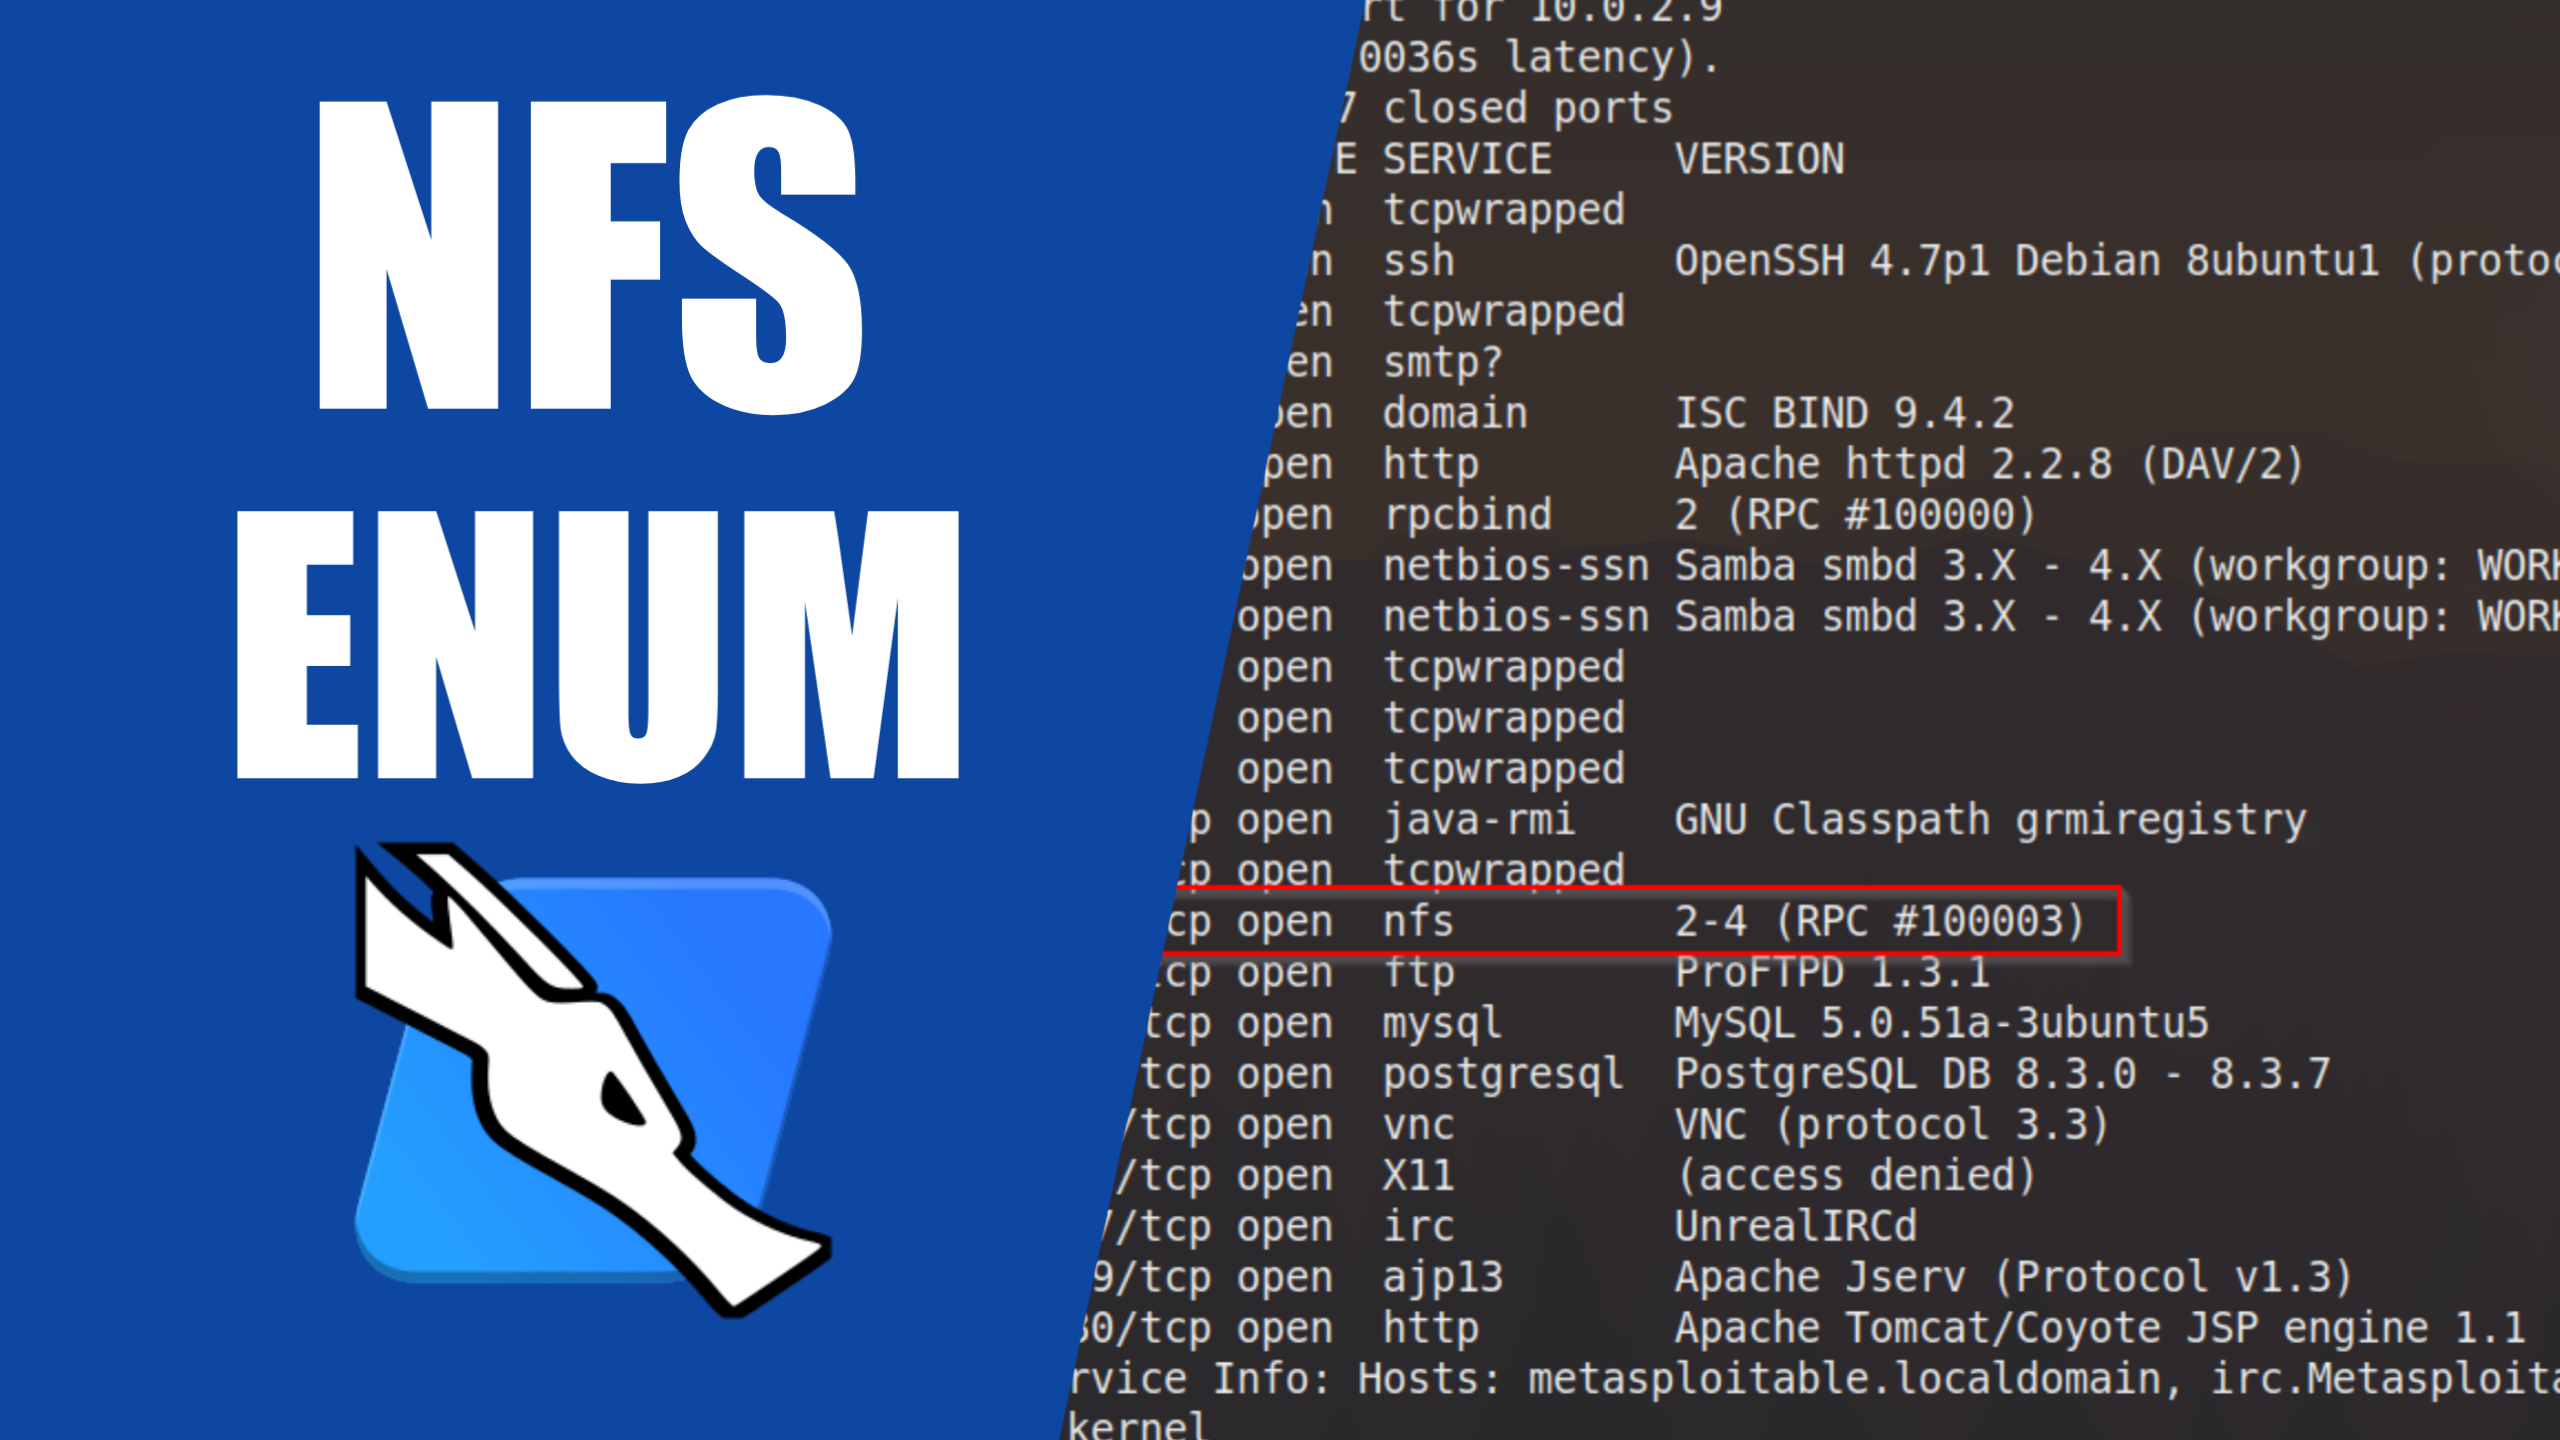
Like always, the party will begin with a nmap scan, to discover all open ports and prepare an approach to enumerate and attack accordingly.
nmap -sV -Pn -T4 <TARGET_IP>
Listing NFS Shares
Now that we have confirmed that a network file system is up and running, the next step is to find and list out all mountable shares on it. To achieve this purpose, we'll be utilizing the showmount utility in kali linux.
NOTE: If not pre-installed, you can install it with the following command (on a Debian based distro):
apt-get install nfs-common
Use the following command to list all mountable shares:
showmount -e <TARGET_IP>
The asterisk sign (*) indicates that everyone on the same network can access and mount this share.
If, however, you get a list of IP addresses or a CIDR range followed by the name of the share, that means only the device with that specific IP or range will have access to mount it.
Example:
Mounting The NFS Shares
Once we know what shares are available on the NFS, we can mount them onto our local system and enumerate them further.
To mount the shares, first, we need to make a directory where we will mount them.
mkdir <local_folder>
With this done, we'll mount the NFS share remotely into our machine with the following command:
mount -t nfs <IP>:<remote_folder> <local_folder>
Now we've successfully mounted the share in our system, which can be accessed by navigating to the directory where we've mounted it.
Enumerating The Mounted Shares
Time to enumerate more! Lets navigate around and see what we have found inside this share.
In this instance we have found the entire file system of the victim machine inside this share; which can be utilized in multiple ways to create an attack vector. One great example is to locate the .ssh folder. This folder contains the public and private SSH authentication keys. You can generate your own SSH key and append it into the authorized_key of the victim machine and then login via SSH and your own password.
EndNote
That's all for this post, I assume you've learnt something new. If you encountered errors or ran into some trouble while following along, feel free to reach me out on Twitter, might as well follow me.
P.S comments are always welcomed!


.png)
.png)
.png)
.png)

